


Have you ever gone to a website and saw a message pop up on your computer screen telling you the website is “not secure”?
If a website is not secure that means they’re not using an SSL certificate, and this can cause visitors to your site to lose their trust in you and feel vulnerable when browsing your site.
SSL certificates are expensive though, and many website owners avoid using them due to the cost. However, this leaves their website vulnerable to information theft.
Did you know that there’s such thing as a free SSL certificate? Many people don’t, but we’re here to tell you that it is possible to create a safe and secure website without completely breaking the bank. And, when it comes to an SSL certificate, you don’t have to dip into your bank at all.
Continue reading to find out how to get a free SSL certificate and how to install it onto your website.
What is an SSL Certificate?
SSL stands for Secure Sockets Layer. What it does is secure any data or information found within a website.
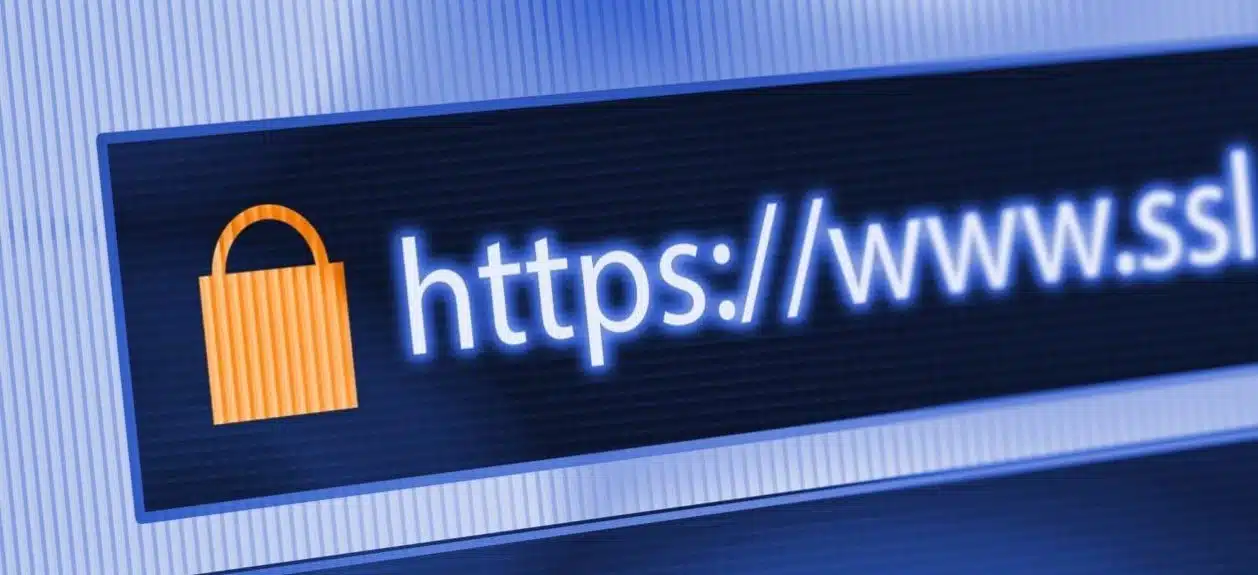
You can tell if a website is secure or not by checking out the area next to the website URL in your search bar. If a website has a verified SSL certificate you will see a padlock next to the site name as well as HTTPS instead of just HTTP.
This certificate doesn’t just secure information on your site though. Having an SSL certificate also provides you with some extra SEO benefits since search engines consider websites with this certificate to be more trustworthy than their HTTP counterparts. Basically, it’s a win-win for both you and your site visitors.
SSL Certificate for WordPress
It’s recommended that if you have a website you install an SSL certificate. Having this certificate is actually required for websites that collect any information from their visitors.
It’s crucial that if you’re going to be collecting information from a user on your site, such as login credentials, that your site is secure. This is especially important for websites that sell products, as the buyer wants to make sure their personal info such as their payment information and home address is safe.
Because of this, many online payment services that you may be interested in using with your site require that you obtain an SSL certificate before you can begin receiving payments from people.
It may sound like an added headache to the already stressful process of creating a website, but it isn’t as hard as you think. WordPress has some great plugins that make the process of installing an SSL certificate on your website quick and painless. We’ll get into that a bit later.
How to Obtain a Free SSL Certificate
SSL Certificates can err on the expensive side, ranging anywhere from $50-$200 per year. Luckily, there are some other routes you can take without having to take money out of your savings.
When it comes to getting a free SSL certificate some WordPress hosting companies are bundling it in with the hosting plan you purchase. This is a great option because it saves you the time and trouble of having to install the SSL certificate on your own.
However, depending on what hosting company you choose to go with this will not be an option for you and you’ll have to install your SSL certificate on your own. This can easily be done with the help of some WordPress plugins, however.
Let’s Encrypt is a service that provides free SSL certificates for websites, and the good thing is that it supports practically every major platform there is. This makes it virtually seamless when it comes to installing an SSL certificate for your website which, in turn, makes the internet safer for everybody using it.
How to Install a Free SSL Certificate
Once you receive your free SSL certificate from Let’s Encrypt, you’ll want to download the WordPress plugin Auto-Install Free SSL. This plugin will install Let’s Encrypt onto your WordPress site, and will also automatically issue and renew your certificate so you never have to worry about it expiring.
You can install Auto-Install Free SSL by following these steps:
- On WordPress click “Plugins” and hit “Add New”
- Type in “Auto-Install Free SSL”
- Click the “Install Now” button
- Once installed, click “Activate Plugin”
Now that this plugin is installed and activated it’s time to activate the actual SSL certificate. Do this by following these steps:
- Click on the “Settings” link shown after activating your plugin
- Click “Basic Settings” and fill out the form
- Once doing this, you’ll see other buttons such as “cPanel Settings,” “Exclude Domains,” and “Add Cron Job”
- Click on all of these buttons and fill in your information. Then add Cron Job. This will install the SSL certificate automatically
- Go to the plugin dashboard and click “Activate Force HTTPS.” The padlock will now appear in your address bar and your site will be secure
Watch Your Website Grow
Now that you’ve installed your free SSL certificate onto your website you can rest assured that your visitors will put their trust in you and your site and all important information will remain safe.
It takes much more than securing your website though to design a website you truly love and to expand its growth. We mentioned how having this SSL certificate can have a positive impact on your SEO, but there are many more things you should focus on in order to really bring your website to the next level.
We provide an array of services from helping to design your site, working on boosting your SEO and increasing the growth and traffic of your site, and even helping you market your content and brand using social media.
Contact us today to learn more about the services we offer and watch your website rank higher on search engines than you ever thought possible.